

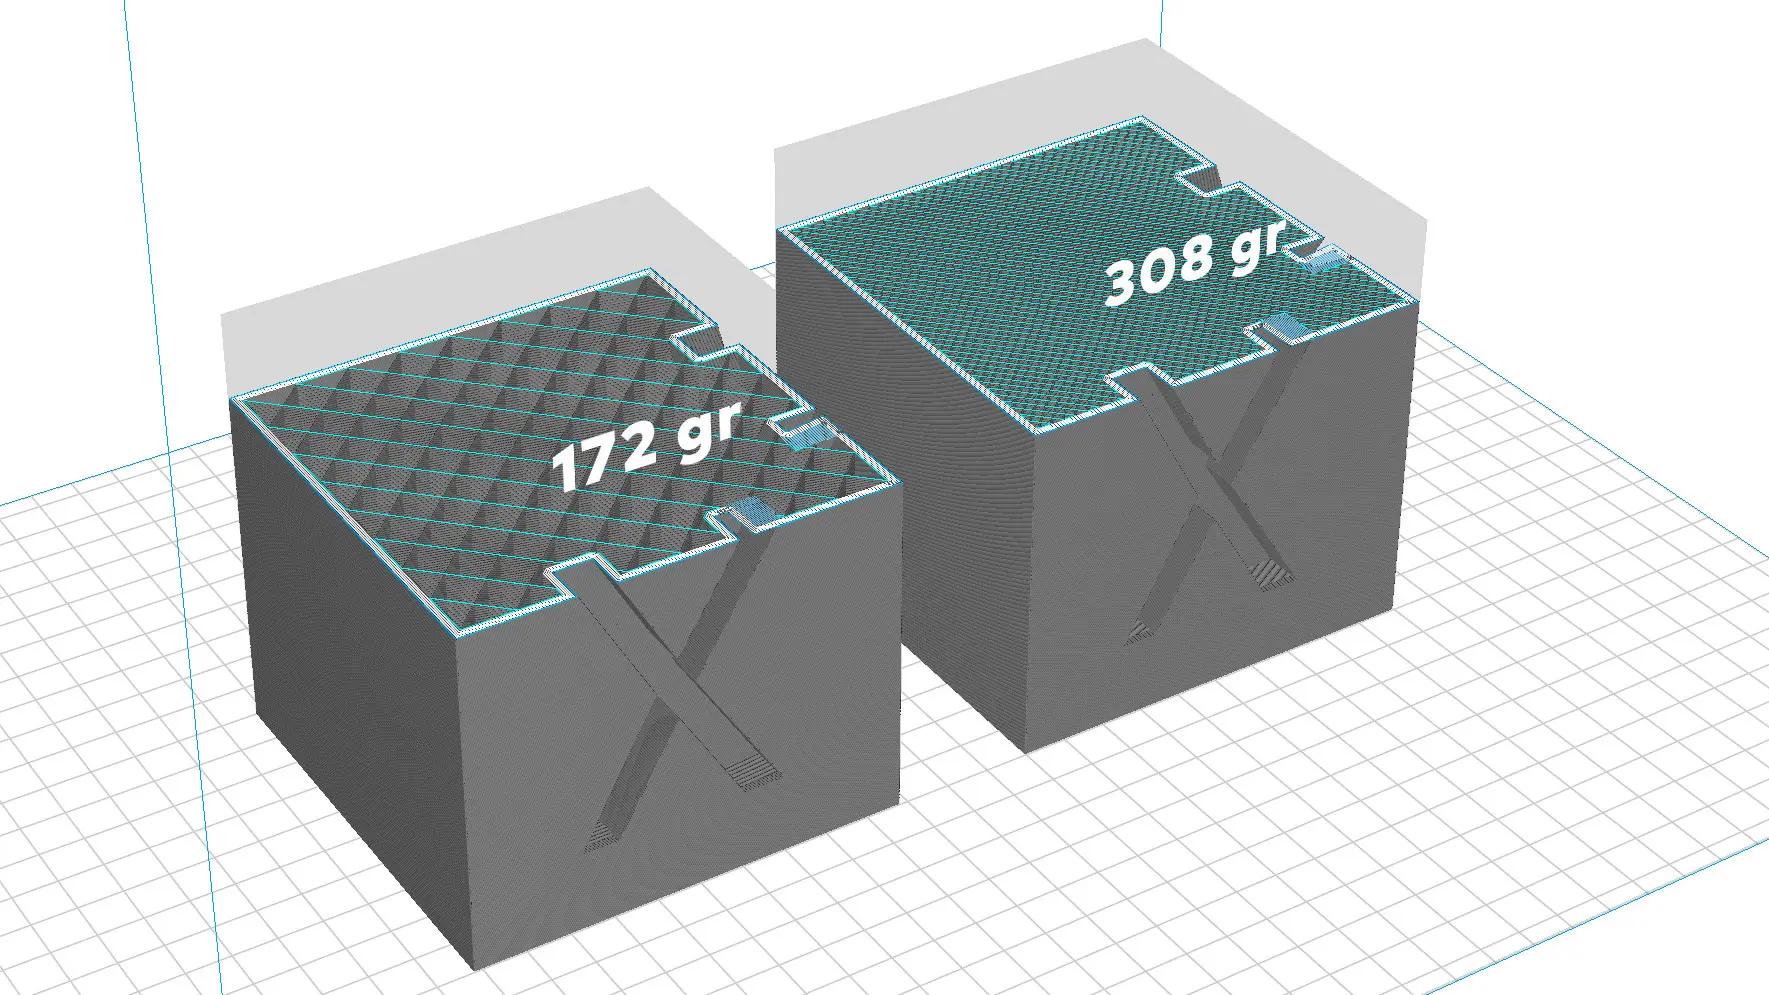
When you hold something that was 3D printed, you will notice it is usually lighter than something that was manufactured with another method. This is because of the infill density, sometimes called scaffolding, settings that are present in most 3D printers.
Thanks to adjustable infill density, 3D printers have the ability to make extremely light just like they can make sturdy, durable ones which is another way that additive manufacturing is more agile and versatile than most other manufacturing methods.
But the properties that your infill settings will grant to your products don't end there. You will also have the pattern of the infill that you can change depending on your needs. Choosing the right combination of infill settings can give your product flexibility, and durability and cause it to weigh less while not driving up the production cost and time, so it is best to educate yourself on the subject to improve the performance of your prints
What are Infill Settings?
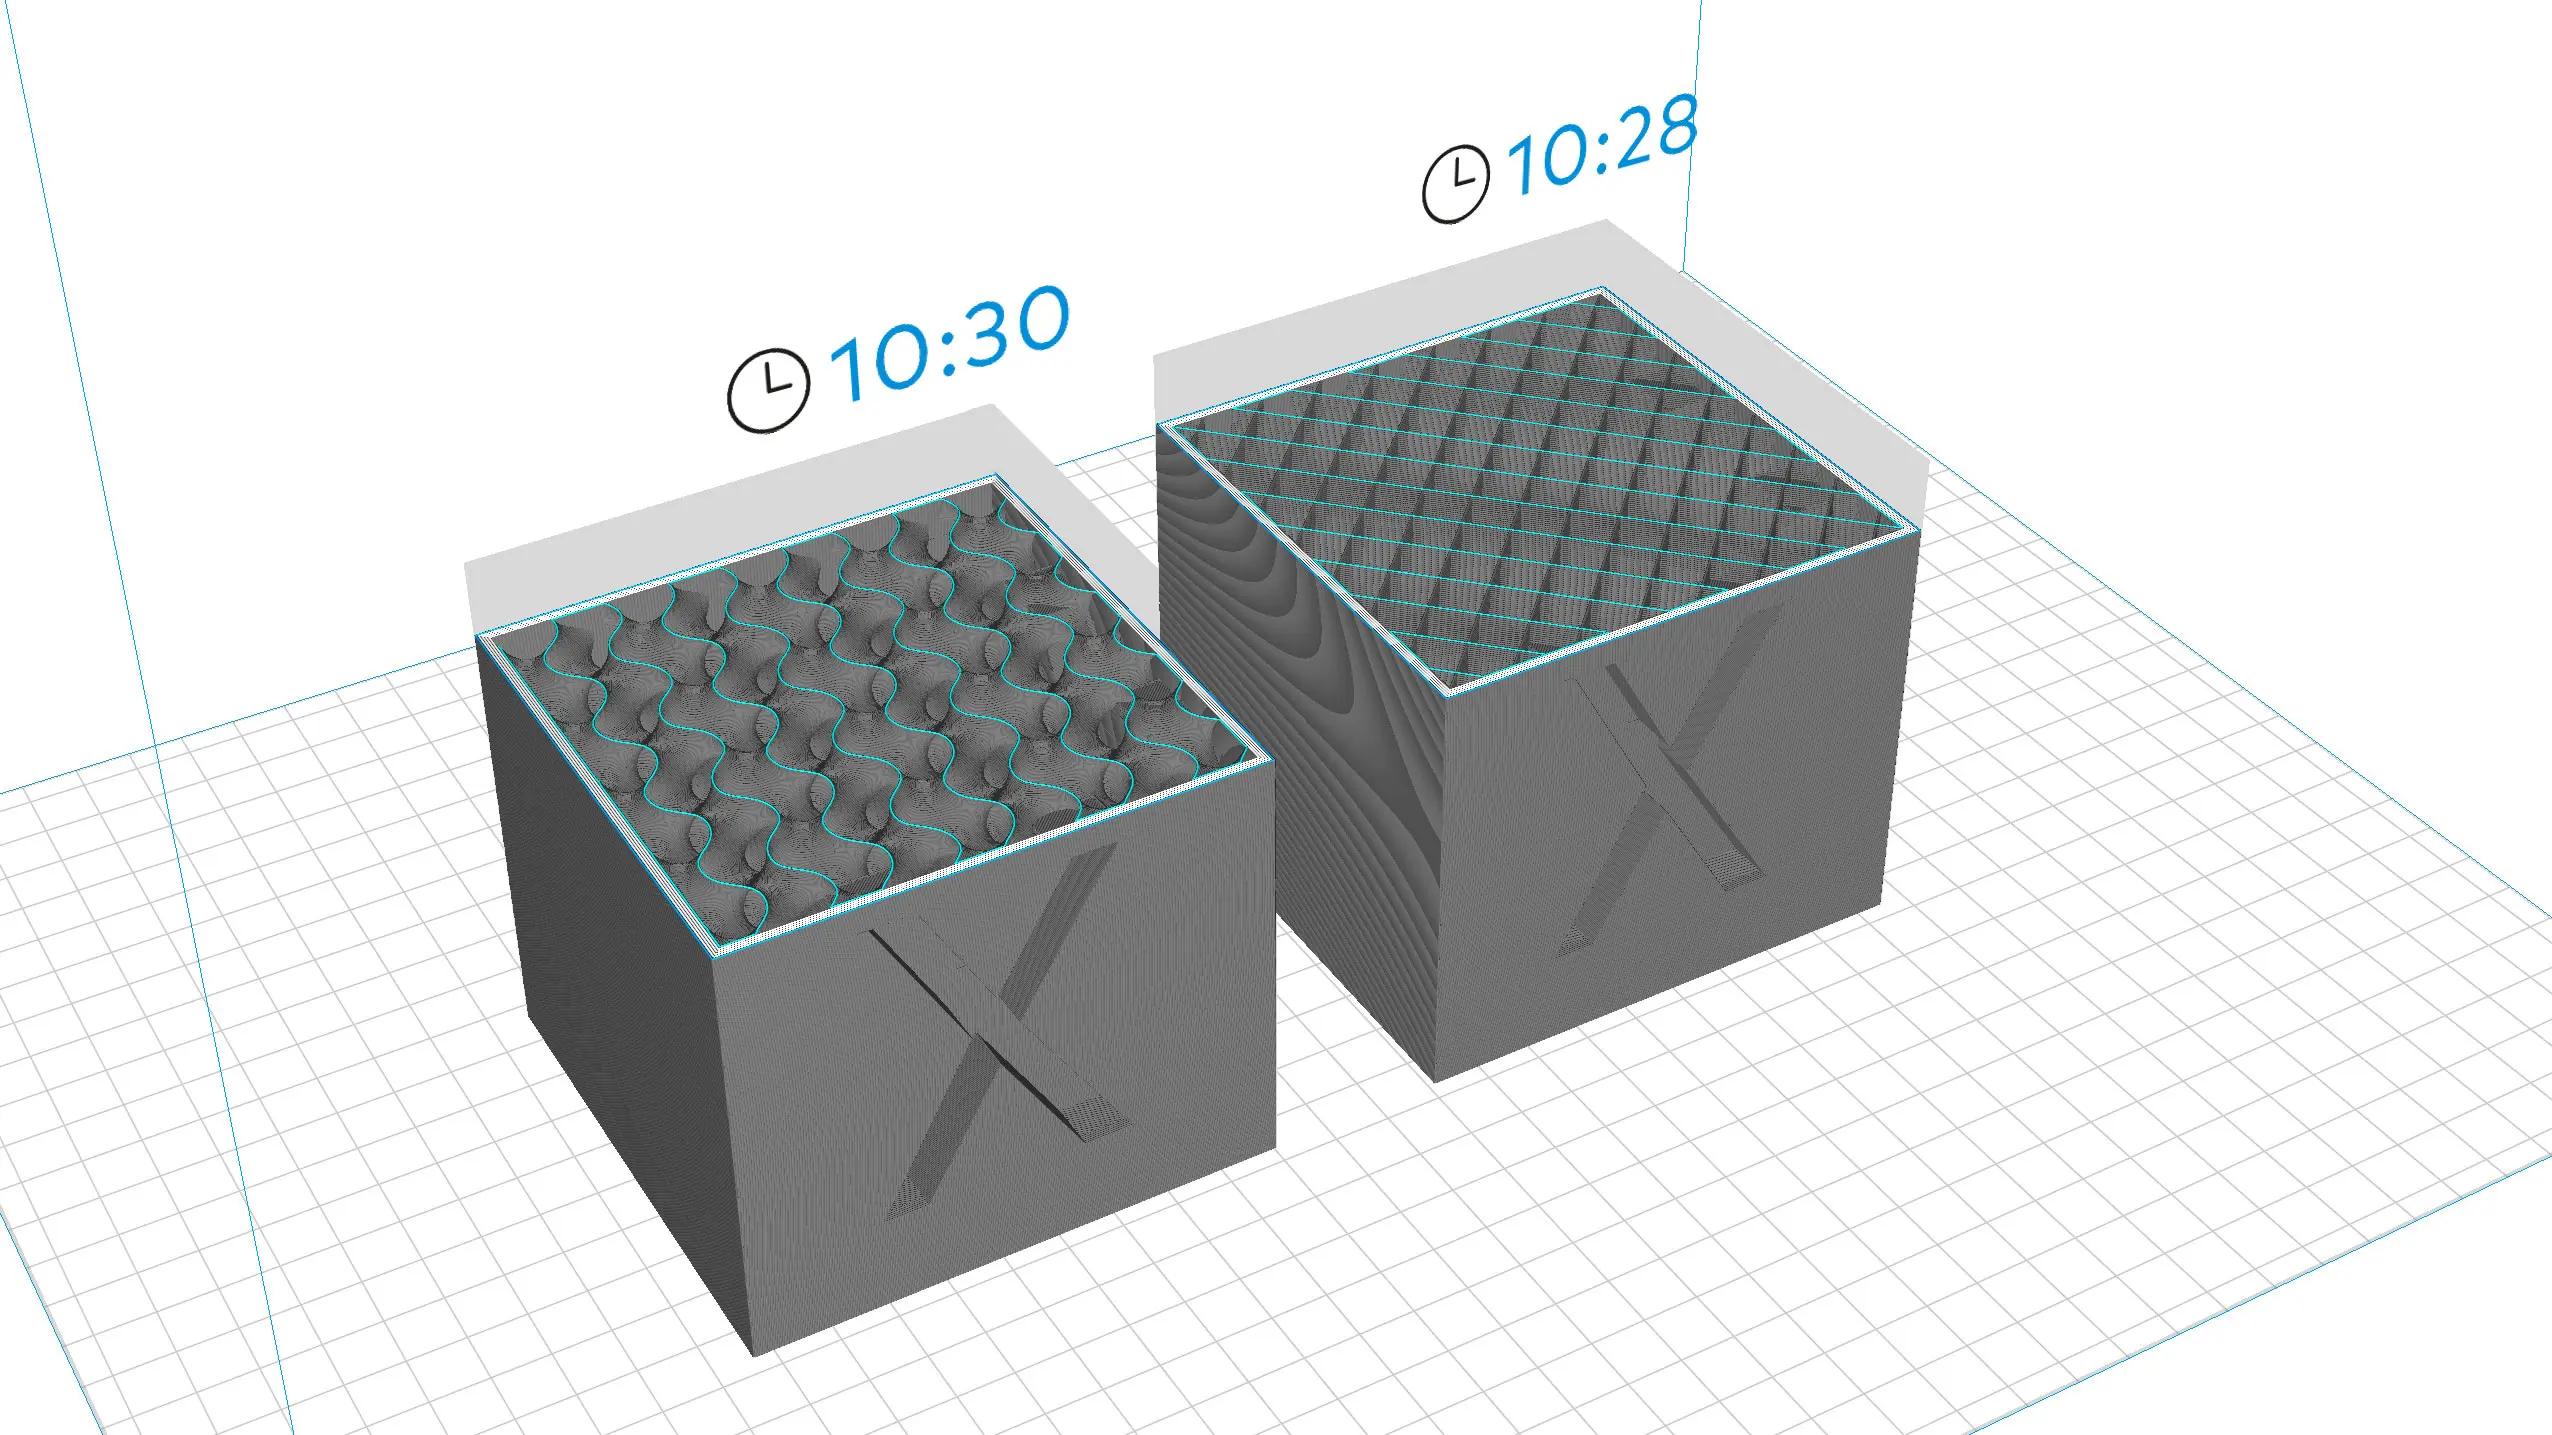
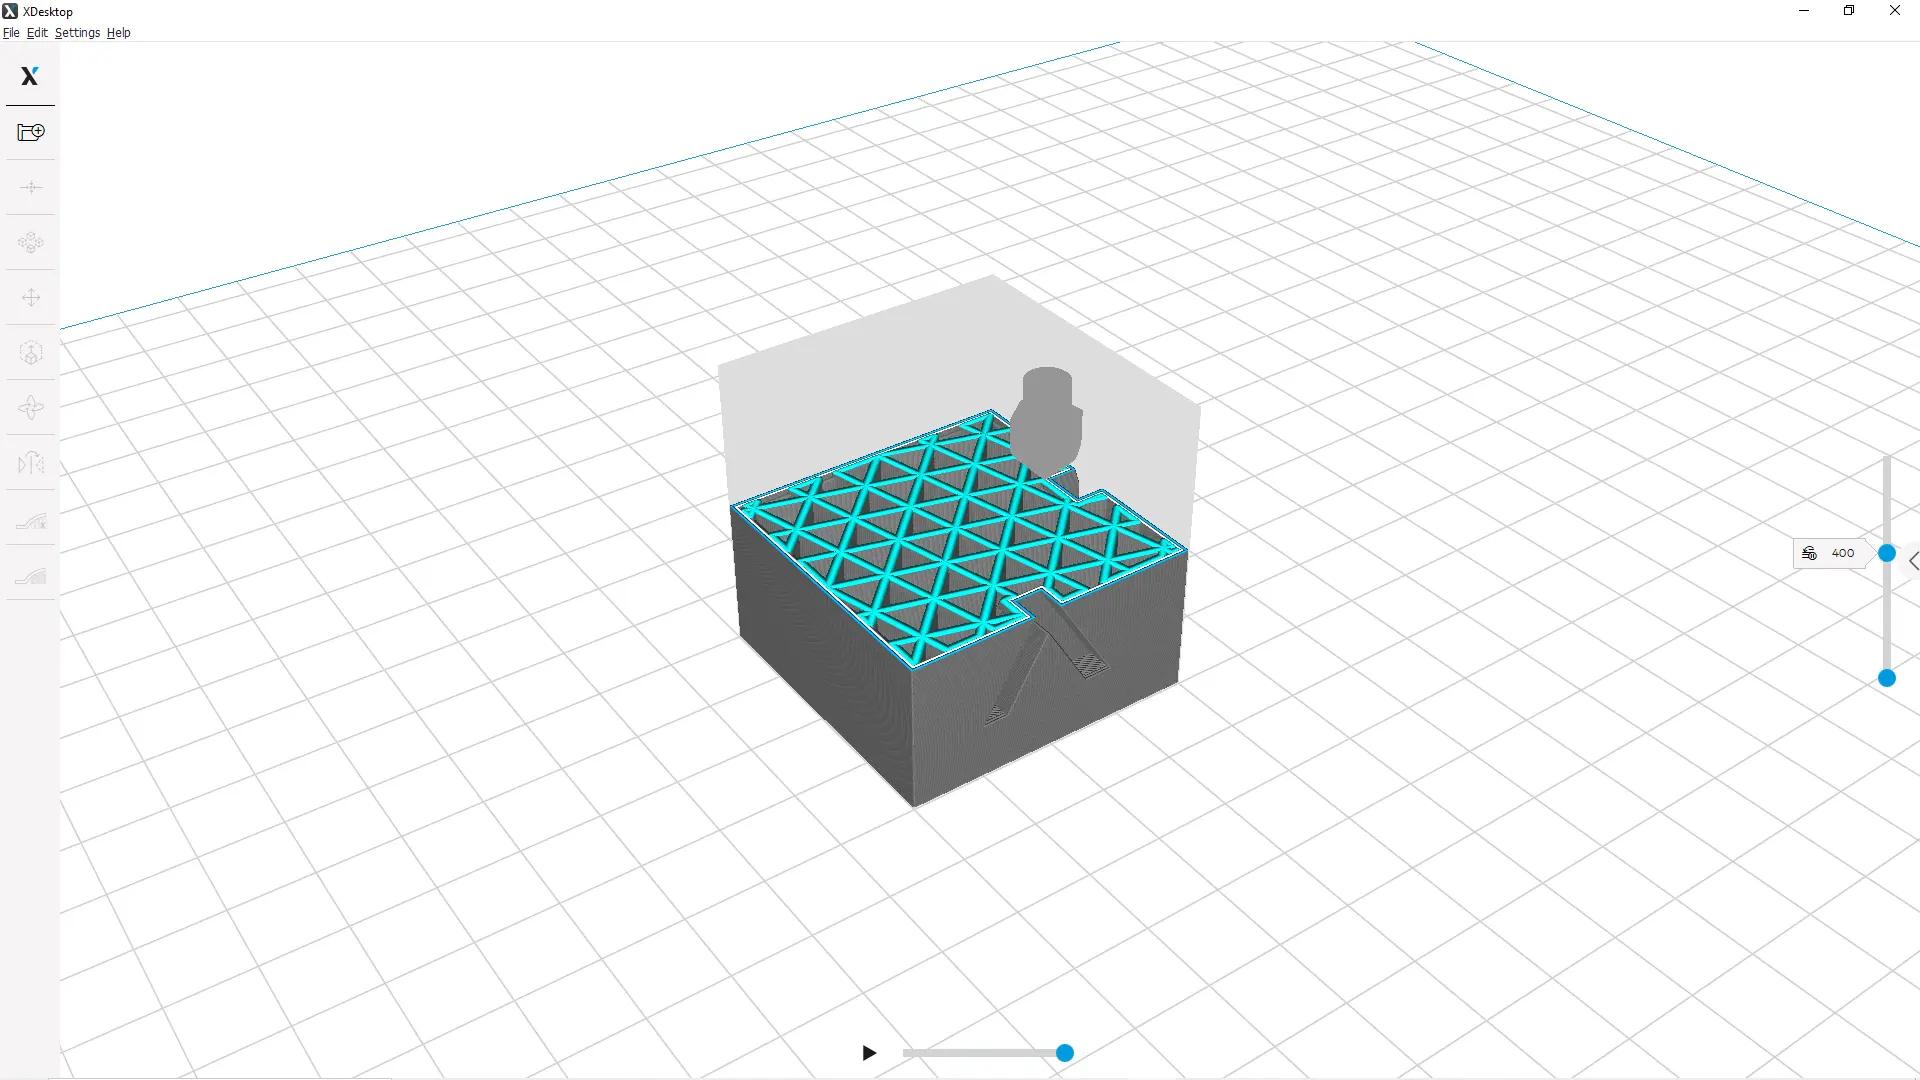
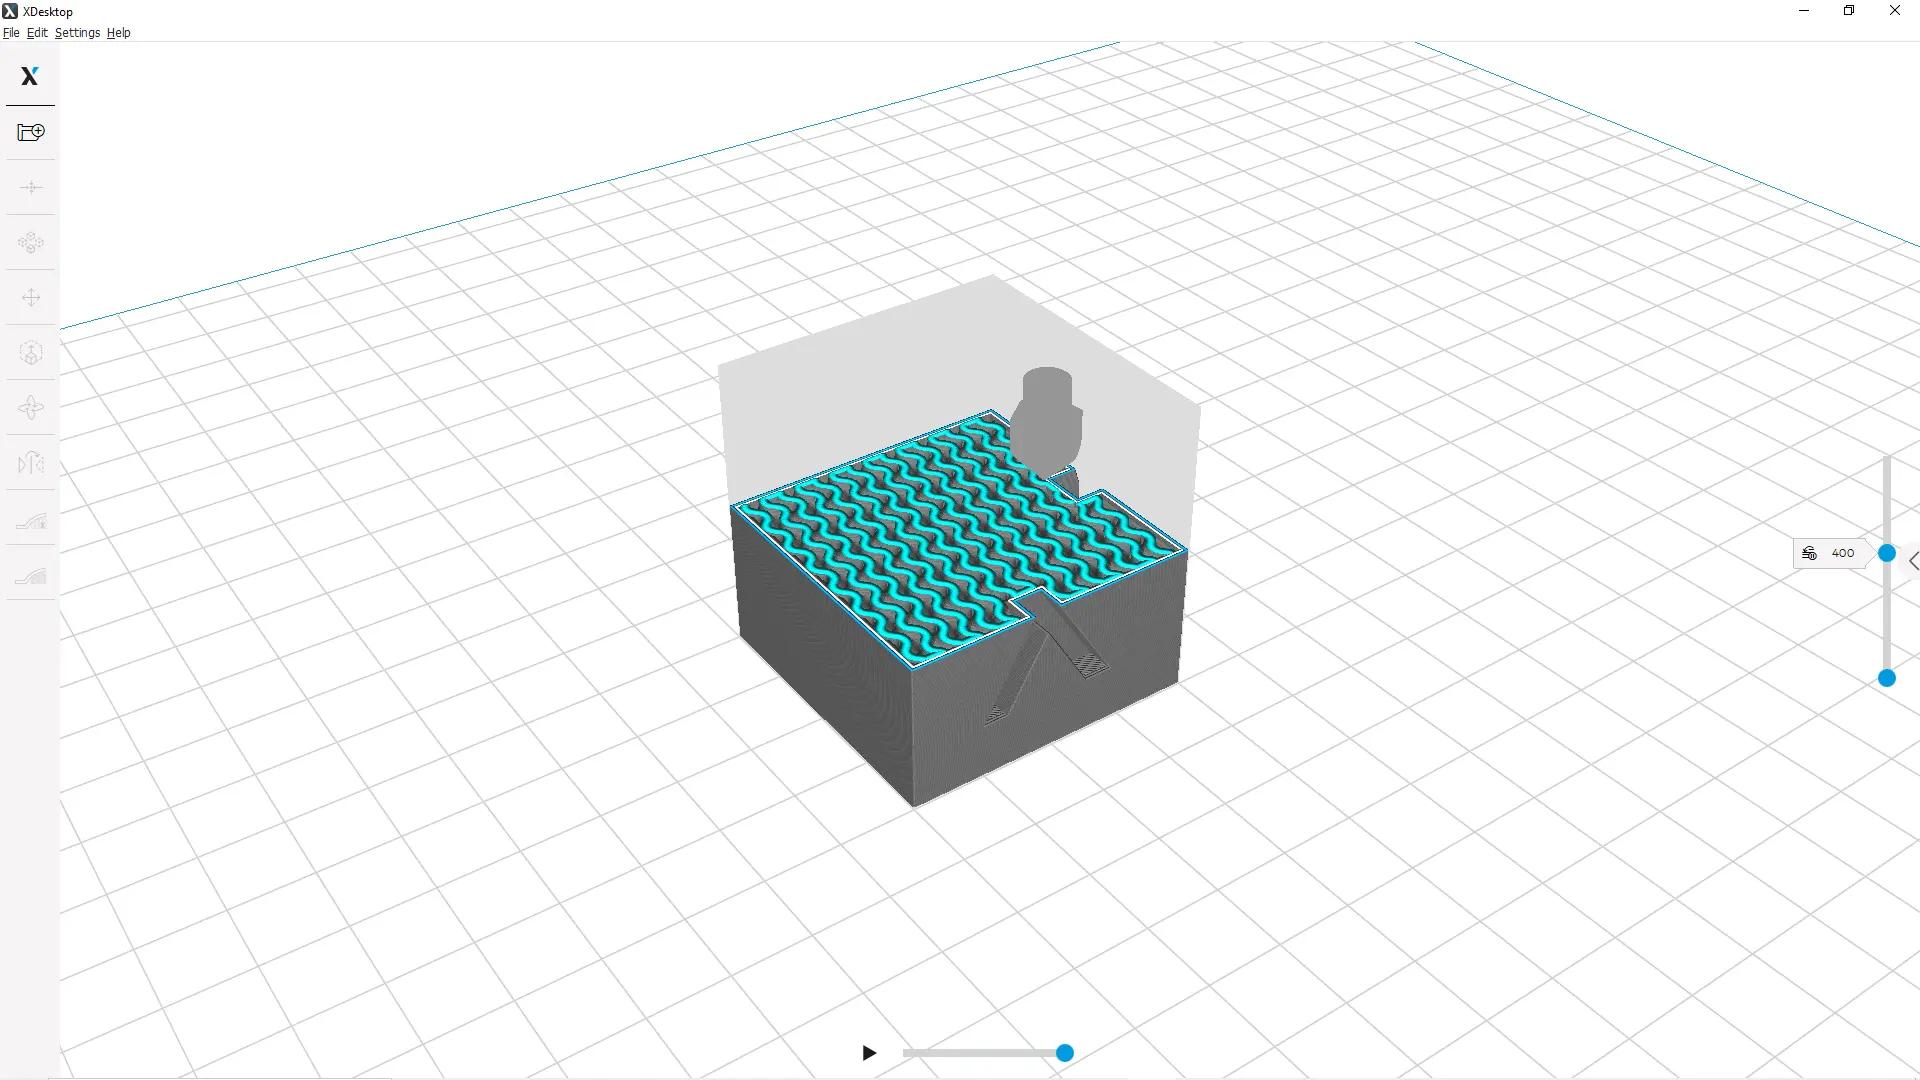
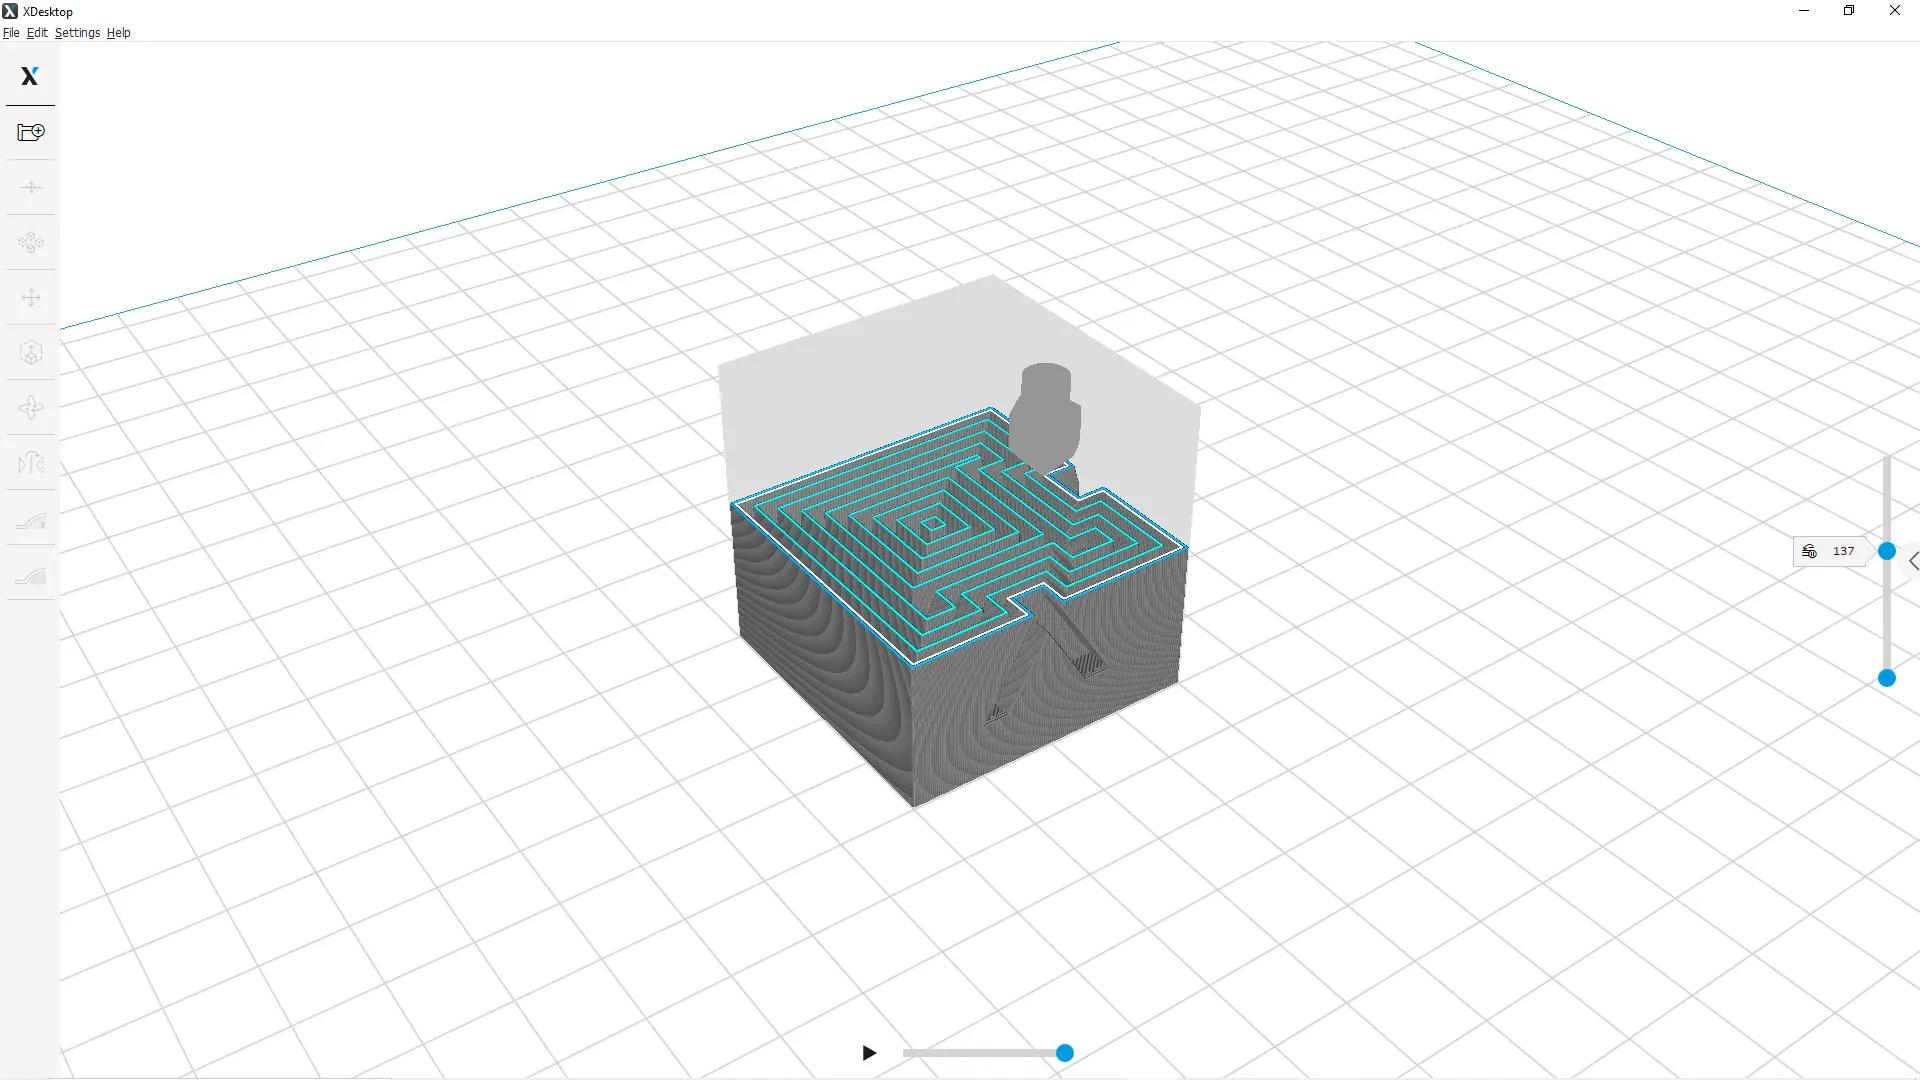
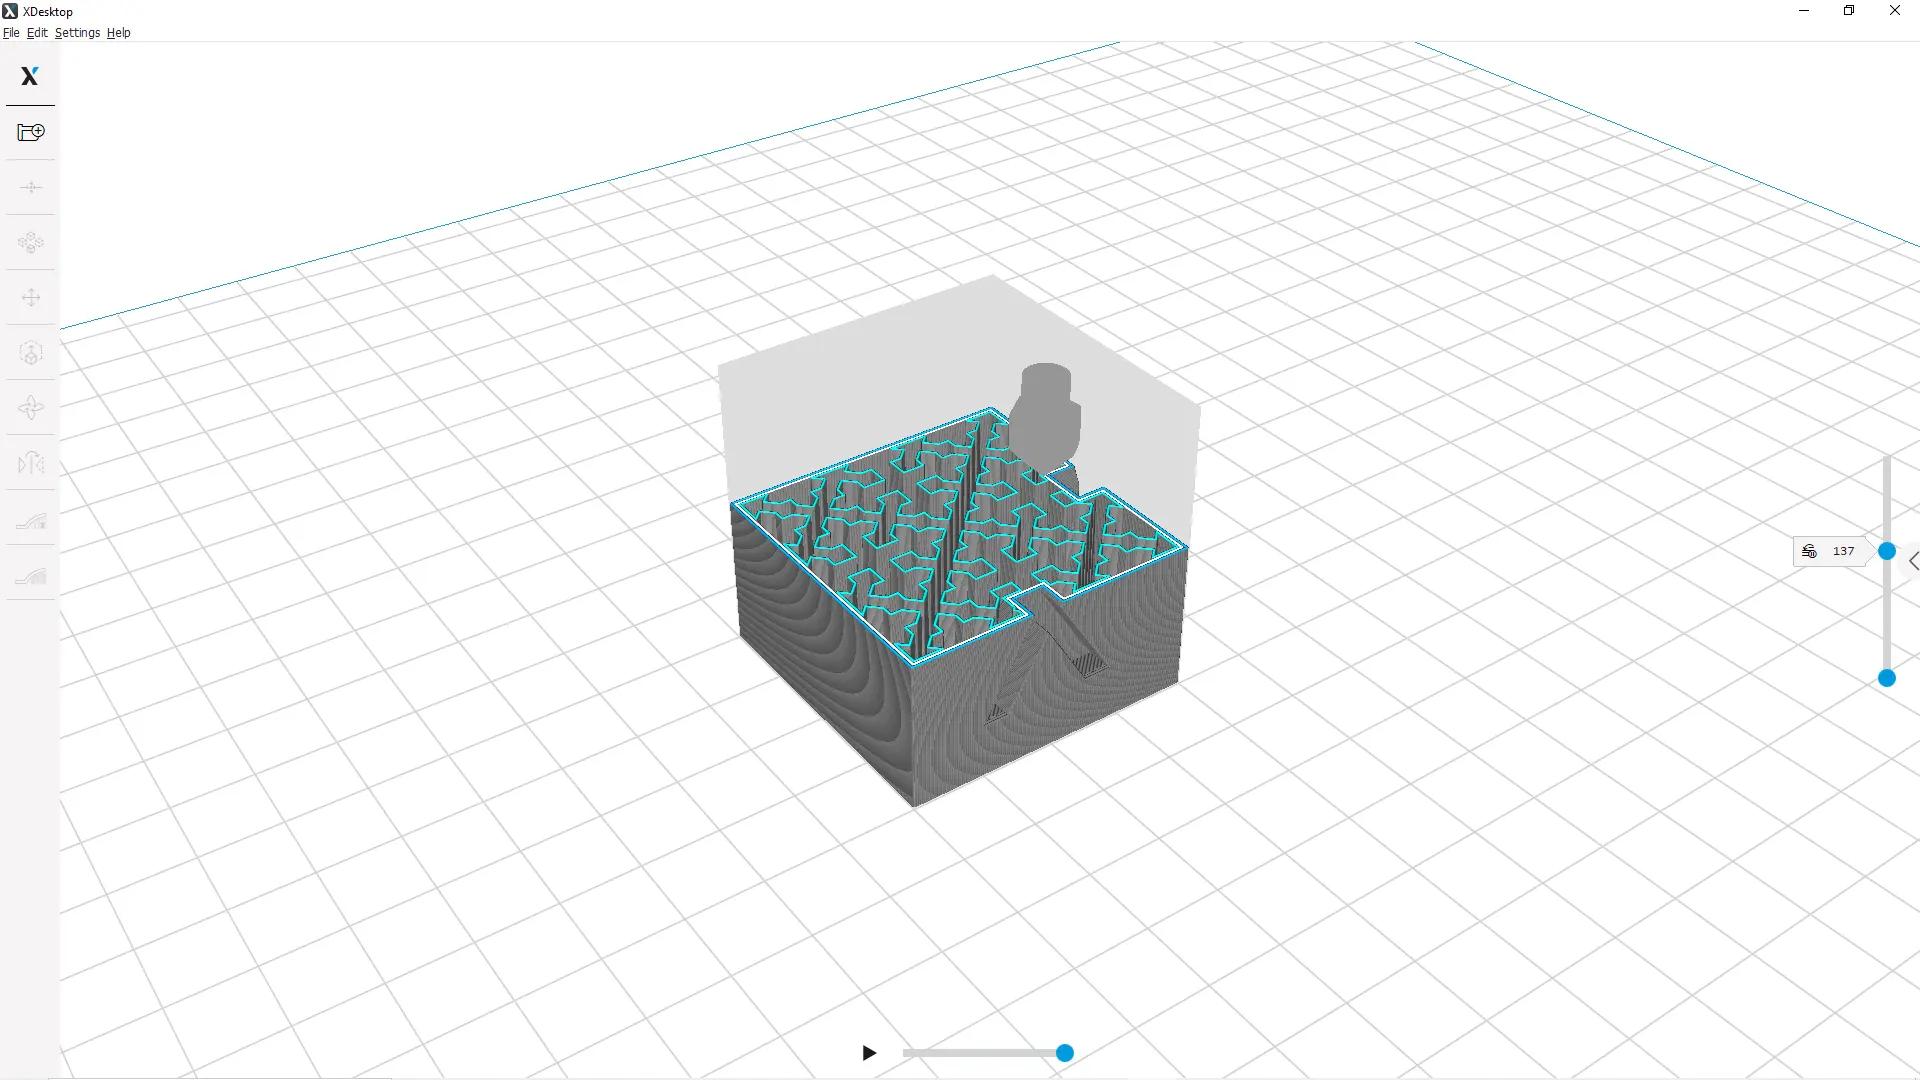
In FDM / FFF 3D printing, when a model is being printed, you can see that the inside of the model is usually printed with a scaffolding-like structure that has spaces in between each cell. Depending on the fill density, the printed cell can be thicker and closer to each other and the pattern being printed can be basic square ones or more complicated structures, like a gyroid.
These different options like density and patterns all have a purpose in 3D printing and are taken advantage of by the users to change the aspects of the manufacturing process.
Why Do 3D Printers Use Different Infill Settings?
Methods like injection molding or CNC don't have the ability to change the inside of the model being manufactured. Injection molding depends on a mold that will be completely filled with a material to make the desired product and CNC requires a blank material that is later cut by a machine to manufacture a product.
Due to additive manufacturing’s nature of producing something from scratch, you can also adjust what the inside of your product will be like. 3D printers use this ability to their advantage for several different reasons, either for convenience, quality or productivity.
Different Properties
The patterns you see inside the model are not just for visuals. They will affect the flexibility, durability, and also printing speed of the model. Different patterns have different properties and will enhance some aspects of your print if you choose the right one.
Material Usage
You will also waste less material when you are not making the model fully solid. Not only will this save you a lot of material and money in the long run, but it is also very environmentally friendly as you contribute to the production and waste of fewer plastics.
What Should Your Infill Density Be?
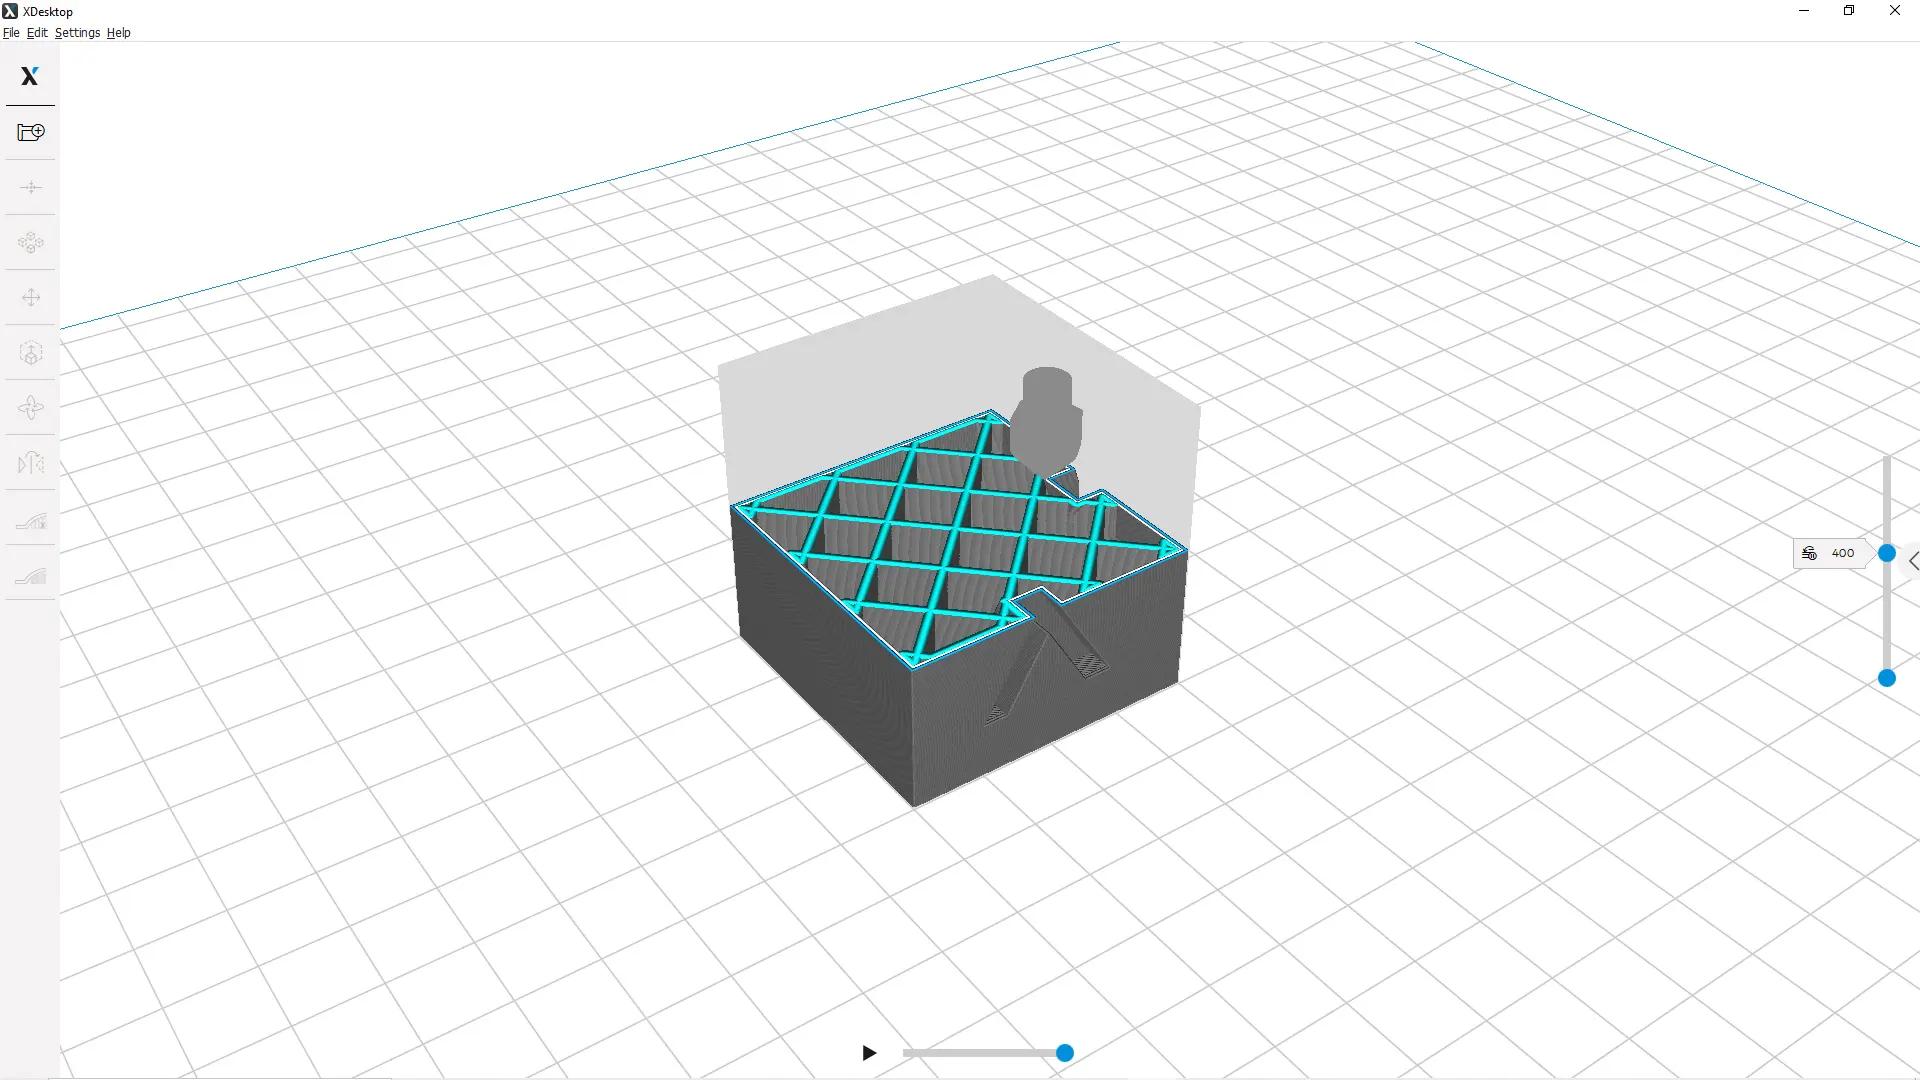
Your slicer or 3D printing software should have a slider for Infill Density in the settings section. This option will determine how hard, heavy, and sturdy or light and frail your end product will be. Adjusting the settings will give different results, so there is no one correct answer to what your infill density should be. It should be determined by the user based on the function of the print.
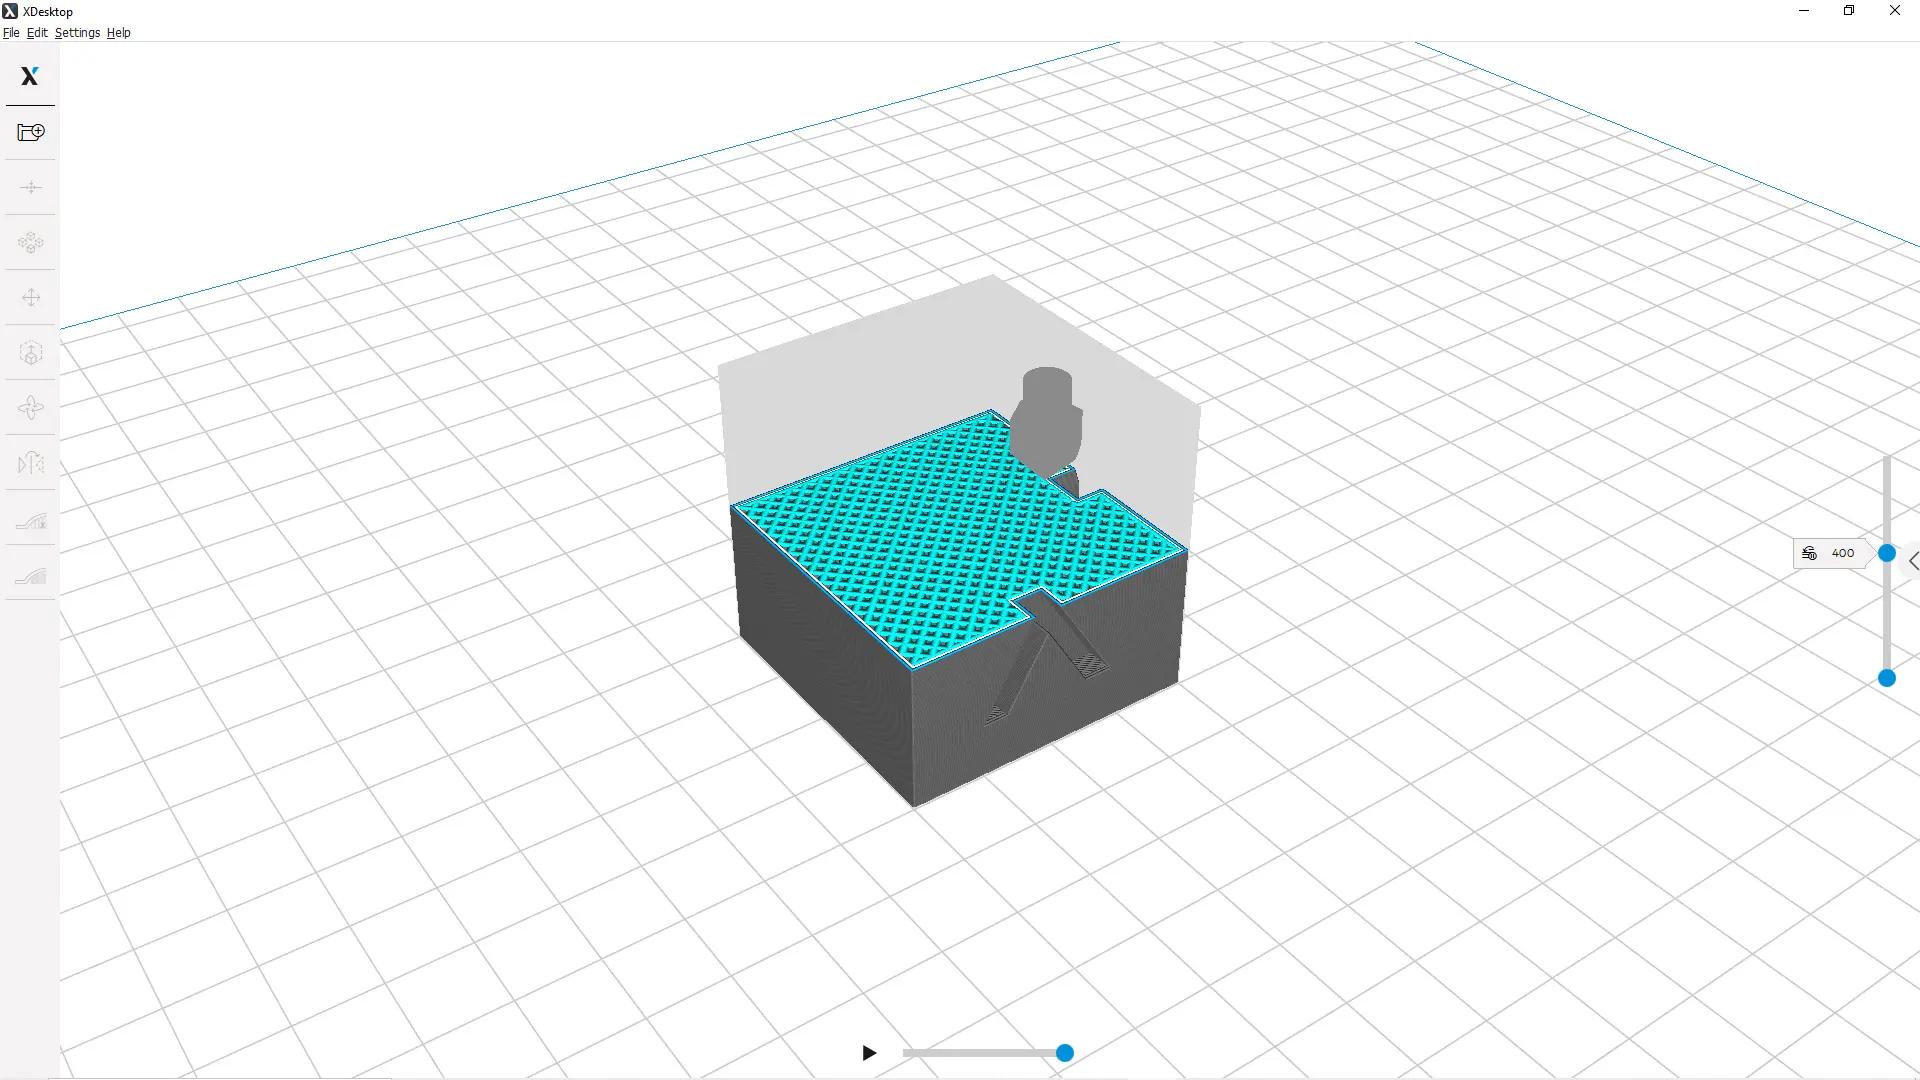

Infill Patterns and How They Affect Your Print
Patterns can grant your print different characteristics just like how filament types will dictate certain aspects of the printed model. The change will not be as dramatic as it is with the material you are using, but changing the infill pattern can make the end product flexible, more resistant to shock, or extremely light.


In Conclusion
The best infill density and pattern will depend on what your budget is, how much time and how many 3D printers, the filaments you use and the purpose of the printed product. There is no one size fits all solution to infill settings.
Mix and match, experiment, and learn more on different infill settings to improve the results you get under different circumstances and get used to weighing in variables to get the best return on your prints.